Wednesday, May 20, 2015

Middle Eastern Chicken Wraps (Msakhan wraps مسخن رول )

The delicious filling

Msakhan/Musakhan is a famous Palestinian dish. It traditionally consists of whole chicken, fried onions seasoned with sumac, lots of olive oil, and bread. This recipe is for the quick version, it's made with chicken breast cutlets instead of whole chicken. You can prepare the filling in advance as well. You can use marqooq bread (a paper thin bread found in Middle Eastern stores), lavash bread, or any kind of wrap bread you like!

Ingredients: 
2 pounds boneless chicken breast cutlets, cut into small pieces (see photo below)
2-3 tablespoons sumac spice (found in Middle Eastern stores)
1/4 tsp ground cardamom 
1/4 cup olive oil
1-2 Tablespoons toasted pine nuts
4 large onions, thinly sliced
salt and pepper to taste
10 wraps

Instructions:
-Start off by rinsing the chicken and drying it with a paper towel. Then cut into small pieces like shown below. I use my kitchen sheers for this task, they make the job alot easier and quicker.


-In a non-stick pan, add a 1-2 tablespoons of olive oil on medium heat. Add chicken and saute until lightly browned and fully cooked. Season with salt and pepper.


-Remove chicken from pan, now add remainder of olive oil and saute onions until wilted on medium-high heat.
-Once onions start to brown add the chicken back to the pan with the remainder of the spices and cook for a few minutes or until it looks like this:
-Preheat oven to 450 degrees (or if you have a panini press and prefer to use it instead then just press your wraps in it after assembly.
-Assemble wraps then line them in a cookie sheet that's been brushed with olive oil. Brush tops of wraps with olive as well.

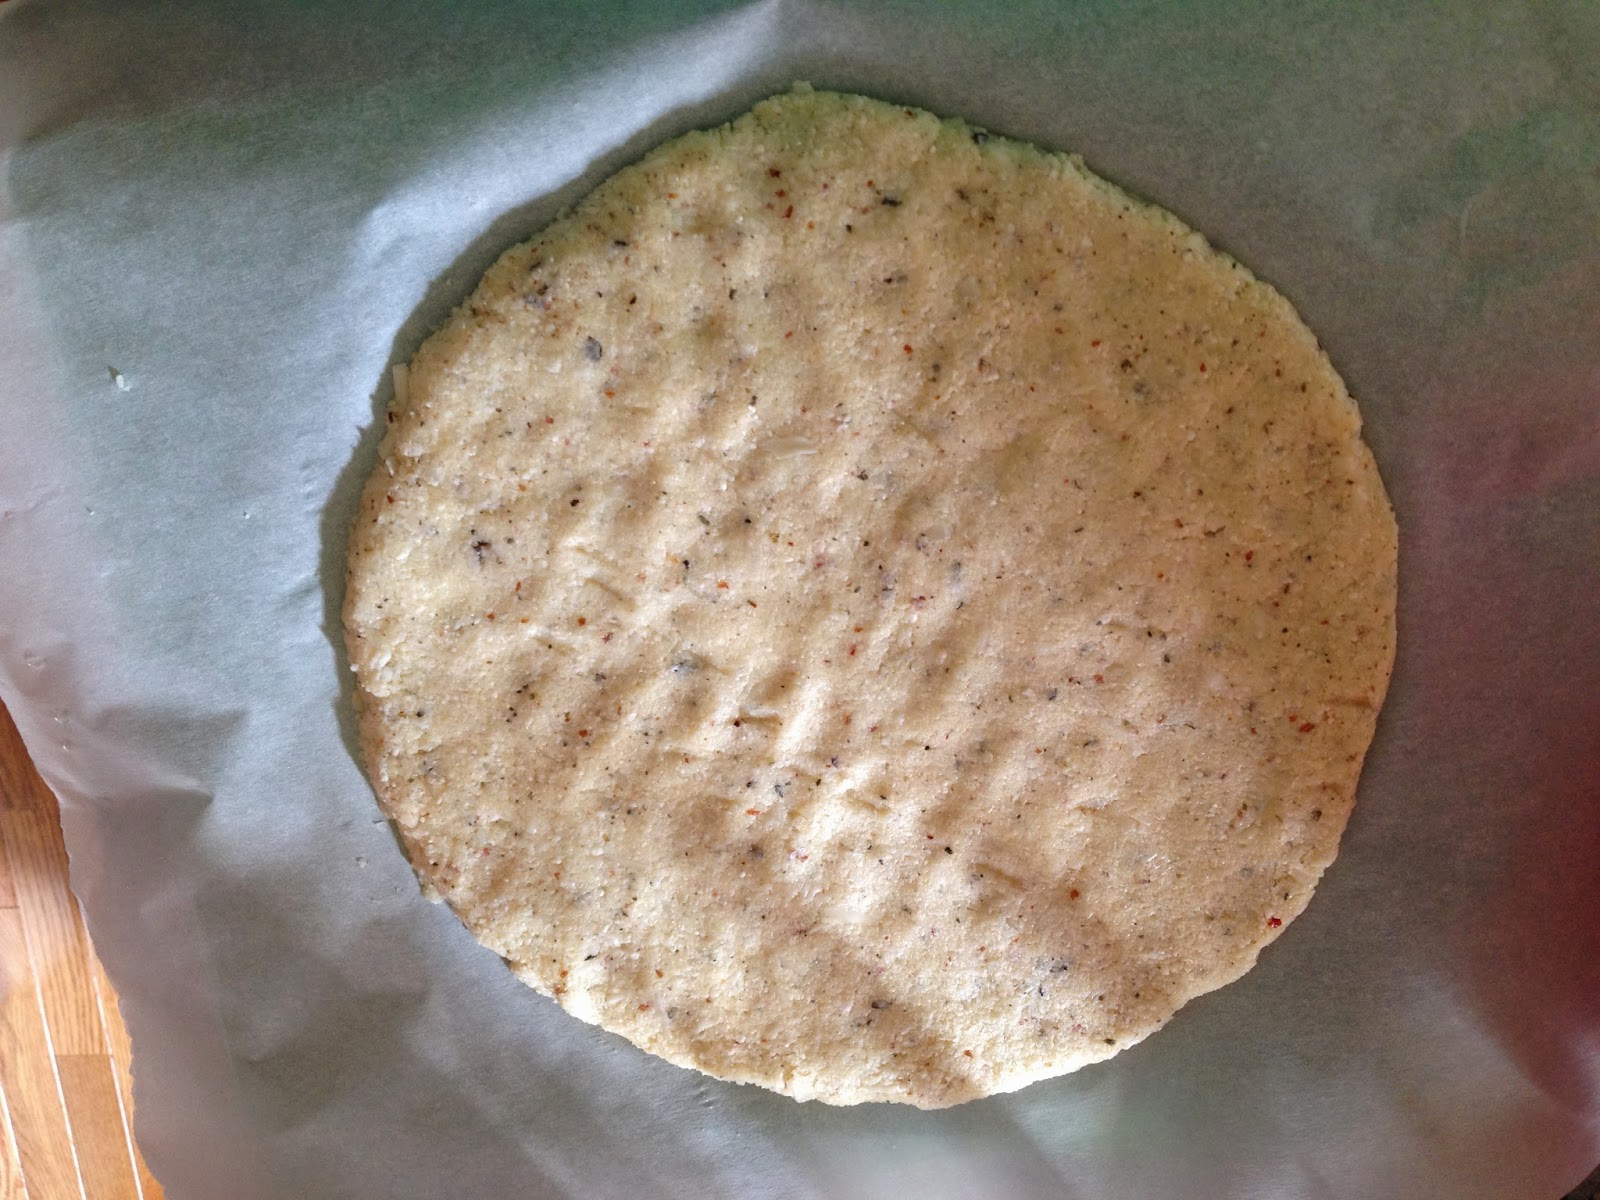
I used marqooq/markouk bread.

Wraps are ready to go in the oven.
-Bake for 5-7 minutes or until golden and delicious.

Ready to eat!

They make a yummy addition to a potluck picnic. 
- To enhance your experience I recommend dipping your wrap in whole milk yogurt as you eat it. Or better yet, try making your own yogurt salad (it consists or finely chopped cucumbers, ground dried mint, a tiny bit of fresh grated garlic, a bit of salt and greek yogurt). Another option for dipping would be hummus. Please comment below if you have questions or if you try it and like it! Enjoy :)

Friday, May 8, 2015

Baked Wild Salmon


This is a great dish to make when you have company and are too busy/tired to cook. It's effortless yet at the end you have a gourmet meal. The trick to making delicious wild salmon is to marinate it overnight or at least for several hours.

Ingredients:
Wild Alaskan Salmon Fillets (found in Costco's freezer section)

Marinade:
2 TBs fresh grated ginger
1-2 TBs freshly grated garlic
salt and pepper to taste
red pepper flakes
Juice of 1 lemon
2 TBs honey
1 TBs soy sauce

Crust:
1/2 cup almond flour or finely chopped pecans
1/4 parmesan cheese
1 TBs parsley flakes

-Wash and dry thawed salmon fillets.
-Combine marinate ingredients then place in glass container with salmon fillets and coat generously.
-Place in fridge for several hours or over night.
-Preheat oven to 425
-When read to cook, take salmon fillets and dip top side (without skin) into crust batter then place in baking dish.
-Bake in middle rack for 15 minutes or until salmon is cooked. Do not overcook! you'll end up with dry salmon.
-Serve with salad, or steamed asparagus and maybe some oven roasted or mashed potatoes. Enjoy! :)

Thursday, April 23, 2015

Cauliflower Crust Pizza

Fully loaded Cauliflower Crust Pizza!
Mushrooms, peppers, jalapenos, ground beef, kalamata olives, and cheese.


I'm reposting this recipe and deleting the old one. This technique is much better than what I used to do. The difference here is that you're cooking the cauliflower for a few minutes in a pan and you're baking the crust on both sides. The inspiration for the new recipe came from the awesome Chef John. Please watch his video here, it's very entertaining.

Cauliflower Pizza crust:


Ingredients:
1 medium sized head of cauliflower (will yield about 2 cups once processed)
1/4 cup parmesan cheese
1/4 cup mozzarella cheese
1/4 tsp. sea salt
1/2 tsp. dried basil
1/2 tsp. dried oregano
1 egg

-Preheat oven to 400
-To prepare crust, cut cauliflower into florets then finely chop it in food processor.
-Steam cauliflower in a pan with a splash of water for 6 minutes.
-Place in one of these or in tea towel and squeeze all the liquid out of it. I got at least 1 cup of liquid, 2 cups of finely ground cauliflower. Squeeeeeeeeze with all your might! :)
-Place cauliflower in a bowl. Add rest of ingredients and mix well with your hands.
-Spread mixture onto parchment paper like this:
It's about 8 inches in diameter

-Bake in 400 degree oven for 30-40 minutes or until golden brown:

-Increase oven temperature to 450 while you top your pizza.
-FLIP THE CRUST OVER BEFORE ADDING TOPPINGS! Add toppings then bake for an additional 7 minutes or until the cheese starts to brown.


Tuesday, April 21, 2015

Egyptian Kushari


This famous Egyptian dish takes a few easy steps and the result is a hearty meal that is a sure crowd pleaser!

Kushari has a rice and lentil base and is then topped with pasta, tomato sauce and fried onions.

This recipe serves 4-6 adults:

Ingredients for rice and lentil base:
1 cup green/brown lentils
1 cup basmati rice*
water
1/4 tsp ground cumin
1 tsp salt

*Traditionally kushari is made with Egyptian rice but trust me this rice has alot more flavor and will offer a much better texture in the end ;)

Ingredients for sauce:
1 15 oz can tomato sauce
1/4 cup water
1 tsp white vinegar
1/4 tsp red pepper flakes
1 clove garlic, finely grated
olive oil
1 tsp ground cumin

Pasta layer:
1/2 lb boiled elbow pasta

Onion layer:
2 large onions thinly sliced
1 TBs flour
1/2 or 1 cup oil for frying (I used coconut oil mixed with olive oil)

How to make rice and lentils:
-Place washed lentils in small pot, add water water (til water is 2 inches above lentils), add cumin. Bring to boil then cover and simmer for 20 minutes or until lentils are soft to the bite but not mushy.
-After lentils are cooked, strain water from lentils while reserving the water. You'll need it again in the next step.
cooked lentils should look like this and not be too mushy!
Don't forget to save the water when straining lentils.
-add a tablespoon of olive oil to the pot. Combine rice and lentils then add 2 cups of reserved lentil water. If you need more just add regular water. Add 1 tsp salt, bring mixture to a boil then cover and simmer for 20 minutes or until cooked through.

To prepare sauce:
-In a small sauce pan, heat 1 TBs olive oil then saute garlic until it starts to brown. Add the sauce and rest of ingredients. Bring to a boil and let simmer uncovered for 10 minutes.

To prepare onions:
-After slicing your onions pat dry them with a paper towel or napkin then combine with flour. 
-Heat oil and start to fry the onions in small batches until they are golden brown and crispy.

What the onions look like after mixing with flour.
Fry the onions in small batches for best results.

The end result is golden brown, crispy and delicious onions.

Finally, assemble your plate like so:


This dish is fun for guests to assemble, it's very filling, and did I mention how delicious it is? :) Enjoy! 

Monday, April 20, 2015

Chicken Kofta (Ground Chicken)


Ingredients:
1 pound ground chicken (this ground chicken was from www.simplynaturalhalal.com)
1 small onion finely chopped
1 clove garlic finely grated
1 tablespoon tomato paste
1/2 green bell pepper finely chopped
2 TBs bread crumbs (optional)
1 TBs dried parsley (or you can use a couple TBs of fresh chopped parsley)
1/4 tsp ground coriander
1/4 tsp ground cumin
salt and pepper to taste
1 TBs butter (optional)

-Combine all ingredients and shape into patties, refrigerate for a minimum of 30 minutes or until ready to cook.
-Heat griddle pan, melt butter for extra flavor. Apply patties and grill until cooked! :)
-Serve with fresh pita bread and salad or with rice.

Please let me know if you try it and how you liked it in the comments section! :)

Monday, February 2, 2015

Coconut Cake

I usually like to bake "healthy" desserts. Of course the word "healthy" is relative to what you consider it to mean. In my case it means baking without sugar (using natural sweetners such as honey and maple syrup) and without flour, or at least a more wholesome version of it like sprouted flour or spelt. However, for my husband's birthday he requested a coconut cake and he made sure to specify that he didn't want to be a "healthy" cake.

I was on a mission to make the most "unhealthy" cake I've ever made. I ended up asking expert friends and combining recipes to come up with this...


Here's how:
The anatomy of a cake: Cake, Filling, Frosting.

1) For the cake portion: I used the buttermilk cake recipe from joyofbaking.com. I've tried many of her recipes and they always come out great. I recommend watching her video to learn technique.
2) For the filling: I used Dorie Greenspan's Pastry Cream recipe (see below for recipe). However, I used this technique ---> (click here for technique)
3) I used a portion of the pastry cream to fill the cake, after mixing with lemon curd. And the other portion was used to make the frosting.
4) I sprinkled each layer of cake with coconut milk to give it more of a coconut flavor and to moisten it.
5) To frost the cake: I used joepastry.com's German Butter Cream recipe which you can find at this link with awesome pictures!

_______________________________________________________
I know it sounds confusing, but it really isn't. I promise! :)

-Prep your pastry cream the night before you make the cake so you don't have to work so hard in one day.

-Follow joyofbaking.com's cake recipe, it won't fail you. Bake for the least amount of time it takes to achieve the golden color you see in the video so it doesn't dry out.

-After your cake is cooled and sliced start having fun with filling and frosting!

-Reserve a cup and a half of pastry cream to use for making the German Butter Cream. Use the rest to fill the cake. Before you do that though make sure you mix your pastry cream with at least 1/2 cup of lemon curd. You can add less of the lemon curd or more to your liking

-To fill cake: Start off by sprinkling 2-3 tablespoons of coconut milk on each layer (make sure you get the full fat version). Then spread a portion of the lemon curd/pastry cream mixture and finally sprinkle with unsweetened shredded coconut.

-Finally frost your cake with joepastry.com's delicious German Butter Cream. (I added 3/4 cup of butter to the 1 1/2 cups of reserved pastry cream).

-Leave cake at room temperature until you're ready to serve then store the leftover in an airtight container in the fridge.


Buttermilk Cake:
2 1/2 cups white flour
2 teaspoons baking powder
1/2 teaspoon baking soda
1/2 teaspoon salt
1 cup unsalted butter, at room temperature
1 3/4 cups granulated white sugar
4 large eggs, at room temperature
1 teaspoon pure vanilla extract
1 cup buttermilk, at room temperature (if you don't have buttermilk substitute with 1 cup whole milk plus 1 tablespoon vinegar added to it, mix and let stand for 10 minutes before adding)


-In a mixing bowlsiftor whisk together the flour, baking powder, baking soda, and salt.

-In bowl of electric mixer, or with a hand mixer, beat the butter until soft (about 1-2 minutes). Gradually add the sugar and beat until light and fluffy (about 3 minutes). Add the eggs, one at a time, beating well after each addition.Scrape down the sides of the bowl.Add the vanilla extract and beat until combined.

-With the mixer on low speed, alternately add the flour mixture (in three additions) and buttermilk (in two additions), beginning and ending with the flour.  

-Evenly divide the batter and pour into the prepared pans, smoothing the surface with an offset spatula or the back of a spoon. Bake for about 27 to30 minutes or until a toothpick inserted into the center of the cake comes out just clean and the cake springs back when lightly pressed in the center.  

-Place the cakes on a wire rack to cool, in their pans, for about 10 minutes. Then invert the cakes onto a greased rack. To prevent splitting, reinvert cakes so that tops are right side up. Cool completely before filling and frosting.


Dorie Greenspan's Pastry Cream (modified)2 cups whole milk
1/2 vanilla bean, seeded6 large egg yolks 1/2 cups sugar1/3 cup cornstarch, sifted1 1/2 teaspoons pure vanilla extract
-Please refer to joepastry.com for his awesome technique.


Friday, January 23, 2015

Fool Proof Rice Pudding ارز بالحليب

Rice pudding is a decadent dessert enjoyed all over the Middle East. This recipe is fool proof, you just can't go wrong with it. Don't even bother trying those recipes that tell you to cook the rice in the milk (it never will and you'll end up with undercooked rice), or to add the sugar in the beginning (it will prevent your rice from having that melt in your mouth texture).

Anyone out there who knows how make rice pudding will give you a slightly different variation. I came up with this recipe after many different attempts. My goal was to achieve a rice pudding that is not too thick or too thin, not too sweet, and that has a soft, melt-in-your-mouth texture.

Here it goes...

Ingredients:
scant 1/2 cup short grain/Egyptian rice
1 1/2 cups water
4 cups whole milk
1/4 cup sugar (or honey if you prefer)
dash of mastic gum (optional) or 1/2 tsp vanilla extract

- In a large sauce pan heat rice and water until they come to a boil, then cover and simmer for about 20 minutes or until rice is fully cooked.
-In another sauce pan, heat the milk. Don't bring it to a boil just make sure it's nice and warm before you add it to the cooked rice.
-Add milk to cooked rice. The water would've reduced by now and even if your rice is still wet it's ok. That water has the starch in it and it will help thicken the pudding.
-Cook the rice and milk on medium heat for about 45-60 minutes while constantly stirring with a wooden spoon. You don't have to stand and stir the whole time but every once in a while to make sure it doesn't stick.
-The rice and milk mixture will start to thicken. Once its reached the consistency you like then proceed to add the sugar and cook for another 5-10 minutes. Add a dash of ground mastic gum or the vanilla extract if you like.
-Pour into small bowls or into a large dish and let cool at room temperature. You can decorate your pudding with golden raisins, a sprinkle of cinnamon or any nuts of your choice. We like to keep it simple in our home and we usually stick to raisins and cinnamon.
-You can cover it and store it in the fridge for about a week but I doubt it'll last that long!